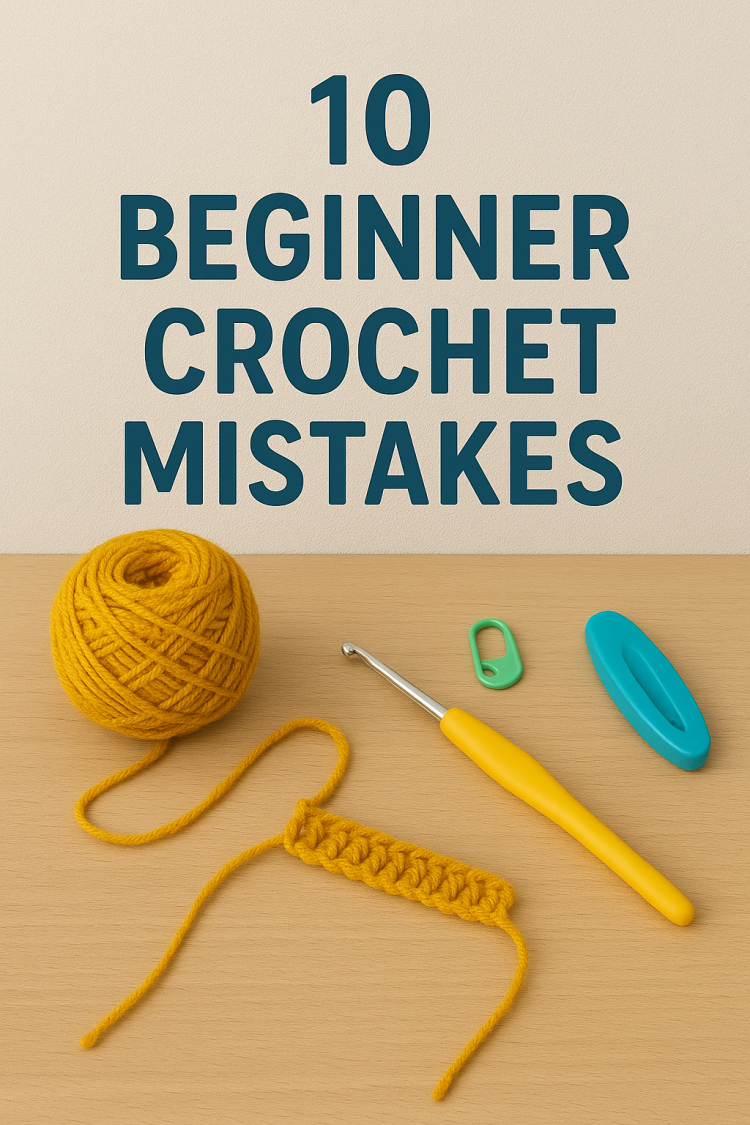
Hello and welcome to my channel. I’m Skye, and it’s nice to have you here. In this video I’m going to be sharing with you 10 crochet mistakes that beginners make and how to fix them. These are all mistakes that I made when I started out crocheting. Some of them I was even making, like, not that long ago. And I wish someone had told me about these mistakes, how to fix them, because some of them are just not. Not that obvious. So that’s what I’m going to be doing today. I’m going to be telling you about the mistakes that are easy to miss. And once you realize how to fix them, it is going to change your crochet game and make your life just a little bit easier when you’re crocheting. Also, I’m wearing my Snoopy sweater today.
I just wanted to show you that because I’m really proud of my Snoopy sweater. It’s so comfy. So I’m going to be telling you each of the 10 mistakes. I’m going to tell you how to fix each of them. You’ll want to stick to the end because I’m saving the most surprising for last. So let’s get straight into it. Mistake number one is making your tension too tight or too loose. This is super common and normal for beginners to have the attention that is either too tight or too loose. And if your tension is too tight, that means your stitches look very tiny. They look stiff. And when you’re crocheting, it feels like your hook is literally just fighting you back. And inserting your hook into the stitches feels impossible.
But if your tension is too loose, it can make your work look big, floppy, and look sort of lacy when it’s not supposed to be. And it can also confuse you with your stitch count because everything kind of looks unpredictable. So the way you’re going to fix this is by finding the perfect sweet spot in between the tension where it’s not too tight and it’s not too loose. And. And you’re going to do this by practice practicing a few rows. And notice the way that you are holding your hook and your yarn. Are you yanking your yarn? Are you holding it too tight, or is it falling between your fingers? You can also check with a gauge swatch if your stitches look uneven, too stiff, or just too stretchy.
And you can fix it by adjusting the way that you are holding your yarn and hook. It does take some time to get used to, but the more you crochet, the more your hands will get used to it and it’ll become simple and you won’t even have to think about it. Mistake number two is not counting your stitches. Bear with me here. I know how boring it can be to count your stitches, but trust me, this one can sneak up on you. For example, you’re crocheting, you’re in the zone, you’re watching your favorite show, and by the time you get to the end, you either have somehow got a couple extra stitches or you’re missing some, and then five rows later, your rectangle has turned into a triangle.
This happens way more than I would like to admit, and honestly, it happens to all of us. And here is how you can fix this or avoid this. Count your stitches, especially at the end of each row, and you will thank yourself later and it’ll save you so much time later on. Some ways that you can help keep track is by placing stitch markers every 10 or so stitches or by placing a stitch marker in the last stitch of your row. This way you don’t accidentally add a stitch or you don’t accidentally skip a stitch. Think of this as like the crochet equivalent of checking your mirrors while driving. In the beginning, counting is going to be your best friend. Something that I like to do is count my stitches every couple of rows. I don’t necessarily count every row.
If I’m repeating the same stitches every five or so rows, I’ll count just to make sure I’m on track. Mistake number three is one that I’m so guilty of when I started out, and this is using the wrong hook size for your yarn. This one can totally throw you off your project, and it’s something a lot of beginners don’t even realize. When I started crocheting, I had one crochet hook, which was my trusty 4 millimeter crochet hook that I used for every single project and every single yarn I had. Even if it was a super chunky yarn, I still used my 4 millimeter hook.
For example, let’s say you grab a tiny hook, like my 4 millimeter hook and a super big chunky yarn, your stitches are going to be extremely tight and it’s going to make it super hard to crochet and your hook will probably end up splitting the yarn. Or if you use a really big hook, a very tiny yarn, it’s going to be very loose and floppy and full of gaps. Now, mind you, this can be done intentionally. For example, if you use mohair and you want it to be very floaty, you might want to Use a big hook just for the sake of this, we’re talking about regular hook and regular yarn combinations. Here is how you can fix this. Check your yarn label. It usually tells you what size hook that you can use for the yarn.
For example, if it says on your label a 4mm hook, start there and try it out. With a 4mm hook, you can always adjust depending on your tension. You don’t always have to use the hook size that the yarn recommends, but it’s good place to start. Mistake number four is not making your foundation chain loose enough. This one sneaks in early because it’s literally the first step that you do when you start a new project. And if it’s too tight, it can make it so frustrating to start your project and make you lose motivation so fast. For example, you finish your crochet project and it looks tight and it curves in on itself. It’s pulling puckering. That means your foundation chain is too tight.
And if you make your foundation chain too tight, it can be too difficult to insert your hook into each chain. So here’s how you can fix this. When you make your foundation chain here a little bit looser than you think you need. So even if you need to go a bit slower and maybe undo some, a little trick that you can also do if you find you have a tighter tension is to use a half a size or a full size hook bigger to make your chain. And once you start your rows, go back to the size that you want for your rows. Mistake number five is not learning how to read patterns and symbols. This isn’t necessarily a mistake, but this is going to be super helpful for you when starting out.
I know when I started looking at the graphs of stitches with all the different symbols was like looking at a whole other language. It was so confusing and intimidating. Once you learn the symbols and what each stitch is called, it will make your life so much easier. Especially if you want to buy patterns or work off of a pattern. For example, you find a super cute pattern online and you are like, yes, I want this, I want to make this. And then you open the pattern and it starts sticking chuo DC in third chain from hook and you’re thinking, what? Or you see a chart and it has all these little symbols and arrows like another freaking alien language. It’s actually so much easier than you’ll think. Trust me.
The way you can learn is by looking at the abbreviations of what they mean and looking at the symbols and what they mean. I’ll try and find a graph or make one and add it to the description below so you can have a look at that. And I know it can be scary and intimidating, but once you get it’ll make your crochet journey a lot easier. And it will make you feel a lot more confident going into all of your projects. You don’t need to memorize every single abbreviation, but start with the common ones. Mistake number six is pulling your yarn from the outside of your skein instead of the middle. It seems like the obvious thing to do is to take your yarn from the outside of your skein.
It can lead to a lot of tangles, and it just makes personally my life so much easier. Taking the yarn from the middle of the center pull of your skein, for example, you’re peacefully crocheting, Everything is going fine, and all of a sudden your ball of yarn rolls off the table, unravels across the floor, and now you’ve got a tangled mess, and your dog thinks it’s their new toy. And now you don’t even want to crochet. This has all happened to me before. The way you can fix this is by pulling from the center. A lot of yarn is designed to let you pull from the center, have it nice and smooth.
This means when you’re crocheting, your skein will stay in the same place and your yarn will come out from the middle, and your skein will not move around or anything like that. Sometimes you do get yarn bath or yarn vomit is what the fiber folks like to call it. It’s inevitable. It can happen. It probably will happen. It depends entirely on the yarn that you use. Mist mistake number seven is starting out with yarn that is super splitty. And if you haven’t heard of the term splitty yarn, you’ll definitely know what it means when you see this example here. So you’re crocheting along, but instead of your hook going cleanly through the stitches, it snags just a part of your yarn, splitting it into strands. And now your stitch is messy, your pattern looks off, and you have to undo it and try again.
And then you have little loops everywhere, and you just want to throw it all away. This happens so much. It happens a lot with me because some of the yarn that I use just naturally tends to be splitty. For example, I’m currently crocheting with bamboo yarn, and I love, love bamboo yarn, but it’s just naturally very splitty. And it’s not your fault, it’s just the yarn. So the way that you can fix this or Avoid this is to stick with smooth, tightly spun yarn. Starting Out Acrylic and acrylic cotton blends are really great when you’re starting out. As they hold their shape, your hook glides through easily and it doesn’t bite you back.
I always recommend for beginners starting out to start with acrylic yarn because not only is it cheaper, but it’s just really easy to work with and you’ll have so much more time to play with fancy yarns, different yarn types, later on when you’re learning the stitches. Do yourself a favor and learn with some yarn that is going to be very forgiving and is not going to drive you crazy. Because trust me, I have been there. Mistake number eight Starting too many projects and not finishing them. These are also known as your WIPS work in progress. For example, you’re crocheting a top and it’s going really well, but you see a really cute pattern or tutorial online for a hat. So you want to start this hat, so you start it, but then you see something else online for a really cute new bag.
So you go and start that bag and then the recycle repeats itself. And you have so many whips and no finished projects and you feel like all you do is crochet, but you have nothing to show for it. And then every time you sit down you don’t know what to crochet because you have so many whips going on and you kind of lose some momentum for it because it becomes overwhelming. I am so guilty of this. I currently have too many words to count right now. That is not the point. The way that you can fix this is to just limit yourself. Try and stick to between 1, 2, 3 at most when starting out projects at a time. Especially when you’re still learning. Try not to have multiple projects on the go. That way you can actually finish your project.
And once you finish a project, it is so rewarding. This sweater I’m wearing, it took me a long time and the way that I kept going was I told myself I’m not going to start any project until I finish the sweater. And I’m so glad I did because I wear it so often. Believe it or not, this was actually the first sweater I ever crocheted. So it is definitely worth it when starting out to just stick to less projects at a time. It also helps to make a bit of a plan. So when you are crocheting and you see something else you want to make, write it down. Keep a list of what you want to make because maybe later on, when you finish your current whip, you might not even want to make it anymore.
And make sure that you are crocheting something with intention. If you are making a garment, for example a sweater, make sure it’s something you actually want to wear. And tell yourself that you are not going to start any other project until you finish the one you are working on now. Mistake number nine is being way too hard on yourself. We’ve all been there. You make a wonky stitch or your tensioners are off and then you’re thinking, maybe I’m just not good at this. Maybe this isn’t for me. I have been crocheting for so many years now and I still am guilty of this. For example, you see someone online crocheting the perfect cardigan in two days. Meanwhile, you’ve been frogging the same row the whole day and you think you’ve messed up. But spoiler.
Everyone messes up at some point and everyone starts out messy. Every professor, professional, everyone who you think is perfect at their craft, everyone who has these amazing designs. They were beginners too. They didn’t know how to make a magic circle too. We all start off like that and it’s really easy to compare yourself to someone who has more years of experience or someone who does crochet full time. It’s just not fair for yourself to be comparing. The way that you can fix this or to avoid this is to just let yourself be a beginner. Crochet takes practice. And like anything worth learning, making mistakes is literally how you learn and improve. Mistake number 10 is not blocking your finished projects. This is a bit of a sneaky one, and it’s one that not many people mention. I did not know about this until recently.
Literally since last year. Blocking your project. It sounds fancy, but honestly, it’s blocking. Your project is so life changing. Not to be too dramatic, but it literally changes the look and feel of your garments so much when you finish your project, it might look a little bit stiff, it might look a little bit small. Even you might think it’s just the way it looks. It’s crochet. What if I told you there’s the magical step that fixes and smooths out everything? It is blocking. It is just a basic part of the process that everyone should be implementing and it makes your finished piece look so polished. Blocking is literally the cherry on top. You can block your project in literally a few minutes. The long part is waiting for your project to dry. Blocking is different depending on the yarn that you are using.
For example, for acrylic you have might want to steam block. I mostly use cotton yarn, so the way that I do it is by soaking my project in warm water, squeezing the water out and then placing it in a towel, rolling it up and then standing on top of the towel and squeezing all of the water out. And then the magic part is you lay it out on a towel or on some cardboard or blocking mat and you stretch your piece and pin it in place. It’s going to relax your stitches and make your piece drape nice. It’s going to make it more floaty and when you wear it’s going to feel even softer and it is just amazing. I love blocking my pieces so Those were my 10 beginner crochet mistakes and how to fix or avoid them.
Let me know in the comments which one you thought was the most surprising and which one you are guilty of still doing. It is inevitable to be making mistakes. That is how we learn and that is how we grow and it is all a part of the process. If you like this video, please leave a like so I know you enjoyed it. Subscribe if you want to see some more videos from me in the future. It helps me out a lot and as always I hope you have a lovely rest of your day or night wherever you are and I will see you in the next video. Bye.